Confocal training package
This page is for new confocal users. Please read linked pages below.
Training requires real samples you need to image including controls. Major components of training including setting up the instrument for the specific probes in the experiment, checking controls, and developing a workflow. Without real samples you need to collect real data from, we find that training is ineffective.
It is better to schedule in advance for when you will have real samples including real controls.
- Be registered for iLab specifically requesting the Microscopy Core.
- Sample preparation needs to be specific for instrument:
- Use #1.5 coverslips.
- Fluorescent probes need to match available lasers. Each microscope's web page lists the available laser lines and see this page for information on fluorescent probes. This is a good introductory video too.
- Know your reagents. Please know the correct name of every fluorophore in your sample.
Have all fluorophore names, excitation maxima, and emission maxima written down when you come to your first appointment.
Are you using antibody labeling? If not, how are you labeling?
- Controls. Unstained samples and secondary antibody controls are required. Bring all to first training session.
- Fixation to preserve 3D morphology, typically fresh PFA, not formaldehyde that has been sitting out in the lab, methanol or acetone. No cytospin.
- Consult staff before sample prep.
- Highly recommend reading this article to learn about confocal microscopy. https://www.nature.com/articles/s41596-020-0313-9
- Training usually 2 session. Minimum typically 4 hours total.
We have found that trainings without real samples you need to image tend to be ineffective.
We do training with samples to make sure that we have the setting right and the workflow correct for what you need to image.
If you insist, we can provide a first training without your samples, but you will still need to meet with us when your real samples are ready.
We can book sessions weeks in advance to make sure we and the instrument are available.
- Before training session, please watch https://www.youtube.com/watch?v=vn6app6XuII
If you want a very thorough history of the confocal, Confocal_microscopy_Amos_McConnell_Wilson.pdf
Confocal best practices
- The pinhole is what makes the confocal a confocal.
Set at 1AU (which means 1 Airy unit) and click the 1AU button each time you change lenses. 0.5 to 1.0 AU ok.
If you are opening it for imaging fixed samples, you should use a widefield fluorescence scope instead.
Except in special case of live cell imaging where you understand that images are not confocal, this is NOT AN ACCEPTABLE WAY TO MAKE IMAGES BRIGHTER. You won't hurt the instrument, but when you write your methods, you won't be accurately describing your microscopy as "confocal".
- Offset. Always use at 0 or 1.
Other numbers are wrong.
- Digital gain. The preset is 1. Leave it there.
- Use the Range Indicator button to make sure you have no saturated pixels. If you see red pixels, you need to turn down the Gain or Laser.
Turning gain down will reduce noise. Less noise means you can scan faster. (More here.)
- Always save files in native format. For Zeiss, CZI. For Nikon, ND2. For Leica, LIF.
DO NOT SATURATE THE IMAGES. The Zeiss 880, Zeiss 800, and Leica microscopes have detectors that may be permanently damaged by repeated saturation.
Tiling or mosaics: Always use zoom greater that 1 and best to have 10% overlap and online stitching turned on. With Zeiss, if you want to save each original tile, images need to be stitched in the Process tab with “fuse tiles” turned on. Leica and Nikon automatically fuse tiles.
List of Core confocal scopes
Other scopes managed by core:
And we will train on your confocal. We make house calls.
Other things to consider
- Do you really need confocal?
Often, widefield fluorescence is better, especially for whole cell intensity quantification.
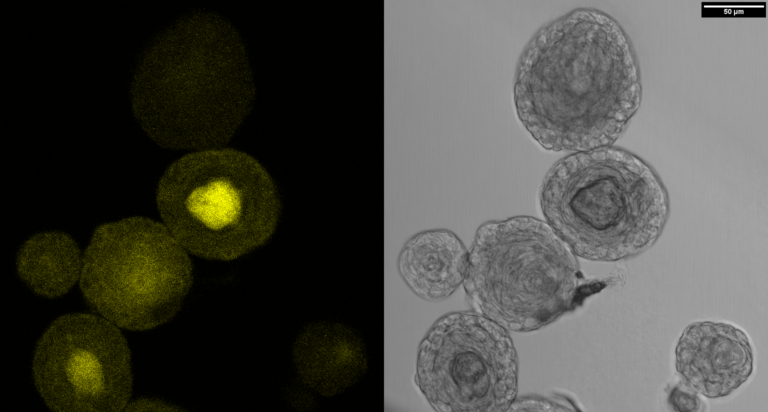
- Looking at cell morphology or collagen matrix? Reflection is highly underutilized imaging mode.
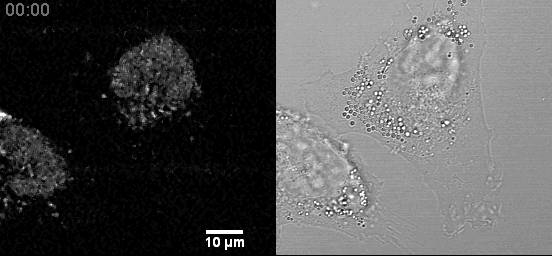
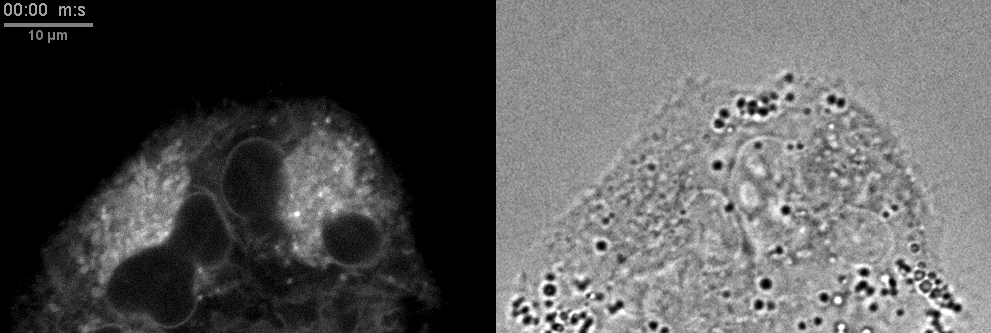
- Confocal microscopes can be used for transmitted imaging. In this movie, fluorescence and transmitted images collected simultaneously.
Example Zeiss 880:
Example Zeiss 800 in Cancer Center:
Click here for original size image.
<back