Return to same positions in multiple imaging sessions
revised 20130221
Follow this protocol once at the beginning of each imaging session to reuse the same XY positions. (The Z positions do not recycle.)
Protocol:
- When the system is turned on, the stage already needs to be in the far right bottom corner.
- Turn on power switches A, B, and C as you normally would start up the instrument. If the instrument is already on because there was a user before you, just leave them all on but exit the Zen software.
- Stage needs to be empty. Take stage insert out of microscope stage.
- Drop objective to low focus.
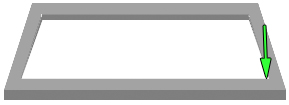
- Move stage to far right bottom corner. (Doing this with 10X objective will save time.)
Green arrow marks where the microscope objective is.
- Turn off MCU 2008.
- Turn off power switch B.
- Turn on MCU 2008.
- Turn on Power switch B.
- Run Zen.
- At this point, the touchpad and the positions window in Zen should be synchronized at 0, 0.
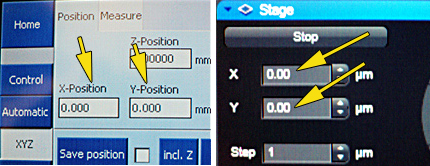
If they are not both set to zero with the stage turned on in the far right corner position, then there is something wrong.
- Move stage back near center where you will be placing your sample.
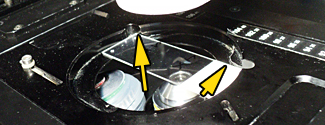
Green arrow marks where the microscope objective is.

- Put stage insert in microscope stage. Make sure you always put your sample in the same orientation and position on this stage. For instance, pushed to the back left corner as pictured.
- Choose objective lens.
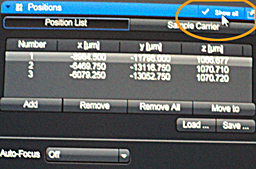
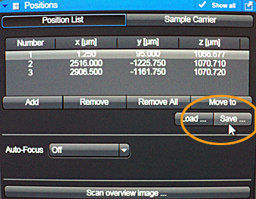
- Each time you have a field you want to return to, add it to the positions list.
- "Show all" button in upper right of positions window displays Load and Save buttons.
- Every once in a while check that the XY position on the touch pad matches the XY position in the Zen Stage Position window. They should correspond within 1 um.
- Save positions.
================================================================================
To find same areas again:
- Set up and calibrate microscope stage as steps 1 to 14 above.
- Load positions file.
- Go to a saved position.
- The position will be off by a few to 150 um or so. (We do not know whether this is due to slippage of the stage or imprecision of remounting the slide in the carrier.)
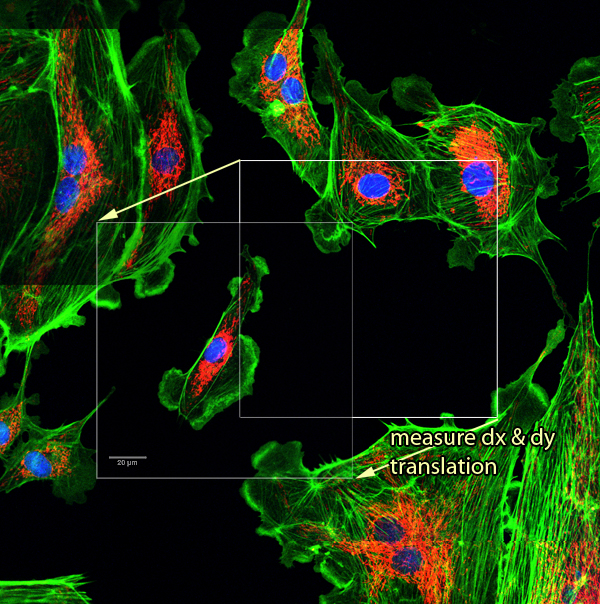
- Optional: Calculate the X and Y difference from the correct position.
- Either manually adjust each positionor put all the XY values into a spreadsheet and calculate the new correct position for each. (We could also write a program to convert the Zeiss positions file to a new file with the correct values; please let us know if this needs to be written.)
================================================================================
The weakest link in the protocol is either putting the slide back in the stage plate or precision of the stage at the far right corner. This can be off by 100 um or so. For example:
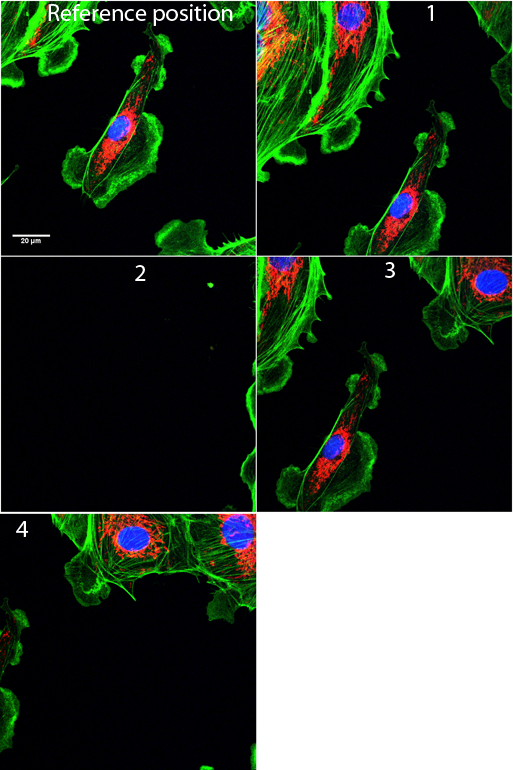 |
The position was set according to the picture in the upper left.
The machine was turned off and restarted with the slide remounted in the stage. Returning to the same coordinates went to position 1.
Repeating this went to position 2, nowhere near the sample. This was my fault for not mounting the slide properly. Reseating the slide went to position 3.
A day later, restarting the machine, the coordinates went to position 4.
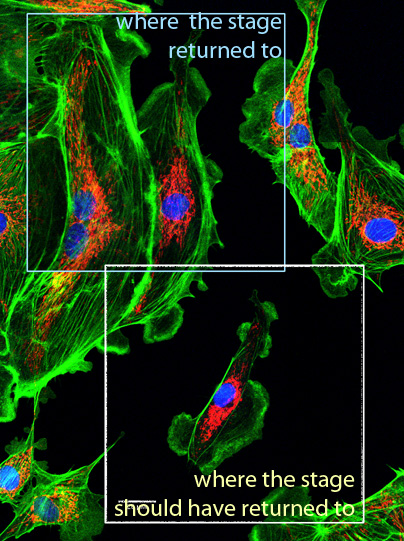
In the image below (based on position 4) you can see that measuring the dx and dy error can be used to correct all coordinates by simply adding the error to the list of all coordinates to retrun to. Simple XY translation works to fix the mechanical error. |
A week alter, attempting to return to the same position was almost a full field off.
So the method is not perfect but gets you close.
Back
comments, questions, suggestions: Michael.Cammer@med.nyu.edu